Learning the Fundamentals: Installing a Kitchen Sink Drain
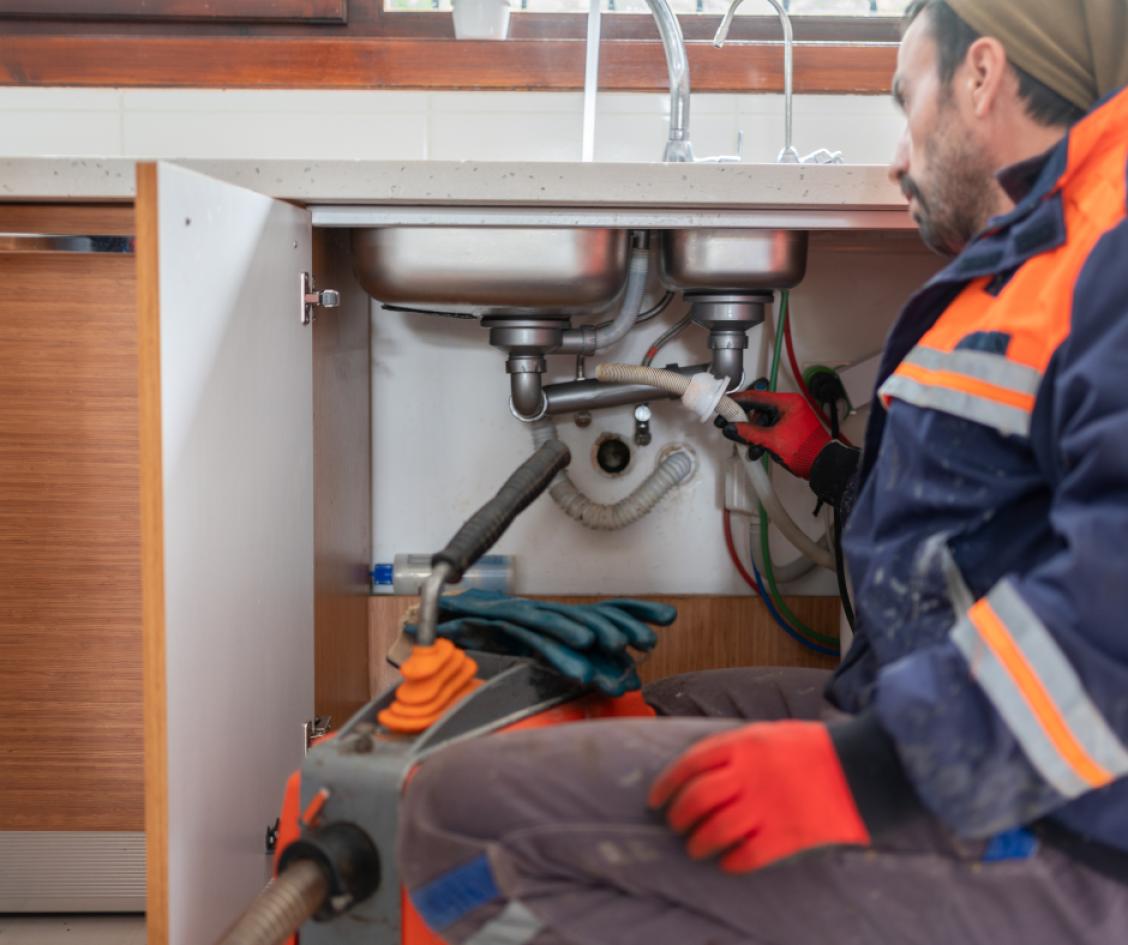
Installing a kitchen sink drain can seem like a difficult undertaking, but with the correct advice and a methodical approach, it becomes a doable operation that improves your kitchen's appearance and usefulness. We'll walk you through each step of installing a kitchen sink drain in this in-depth tutorial, including all the necessary procedures and common problems. Let's get started and install a professionally installed sink drain to completely revamp your kitchen.
Gathering Essential Tools and Materials
Make sure you have the following resources and equipment available before starting the installation process:
- Adjustable wrench
- Tape for plumbers
- Plunger; wrench for pipes;
- Plumber's putty
- PVC pipes and a screwdriver
- Sink drain assembly kit
- Bucket
Step-by-Step Guide on How to Install a Kitchen Sink Drain
1. The first step in installing a kitchen sink drain is to turn off the water supply. To turn off the water supply, find the shut-off valves under the sink and turn them in a clockwise direction. In the event that your home lacks specialized shut-off valves, you might have to shut off the main water supply.
2. Set up the workspace: To catch any water that could spill out when you disconnect the current plumbing, place a bucket underneath the sink.
3. Disconnect the existing drain: To loosen and disconnect the P-trap and any other parts connecting the existing drain, use an adjustable wrench. Pour the P-trap's contents into the bucket.
4. Take out the old sink strainer: To remove the old sink strainer, loosen it using a pipe wrench. Applying some penetrating oil could help free it if it's stuck. After removal, tidy up the vicinity of the sink aperture.
5. Apply plumber's putty: Wrap a tiny length of putty around the underside of the new sink strainer's flange, forming it into a rope-like pattern. Make sure the strainer fits snugly when you insert it into the sink opening.
6. Fasten the sink strainer: Position a rubber gasket, cardboard friction ring, and mounting ring onto the threads of the sink strainer from underneath the sink. Screw the mounting nut onto the threads by hand. Once the sink strainer is securely fastened, tighten the mounting nut even more using a pipe wrench.
7. Attach the cardboard friction ring and rubber gasket: Slide the cardboard friction ring and rubber gasket onto the tailpiece under the sink strainer.
8. Attach the tailpiece to the P-trap: Use an adjustable wrench to secure the tailpiece to the P-trap. To stop leaks, make sure the connection is tight and secure.
9. Connect the drain pipe: Assemble the parts of the drain pipe in accordance with the directions provided by the manufacturer. To stop leaks on threaded connections, use plumber's tape.
10. Run water through the sink while turning on the water supply to check for leaks. Examine the area surrounding the drain connections for leaks, and tighten as necessary.
Installing a Seamless Sink Drain Installation Will Upgrade Your Kitchen
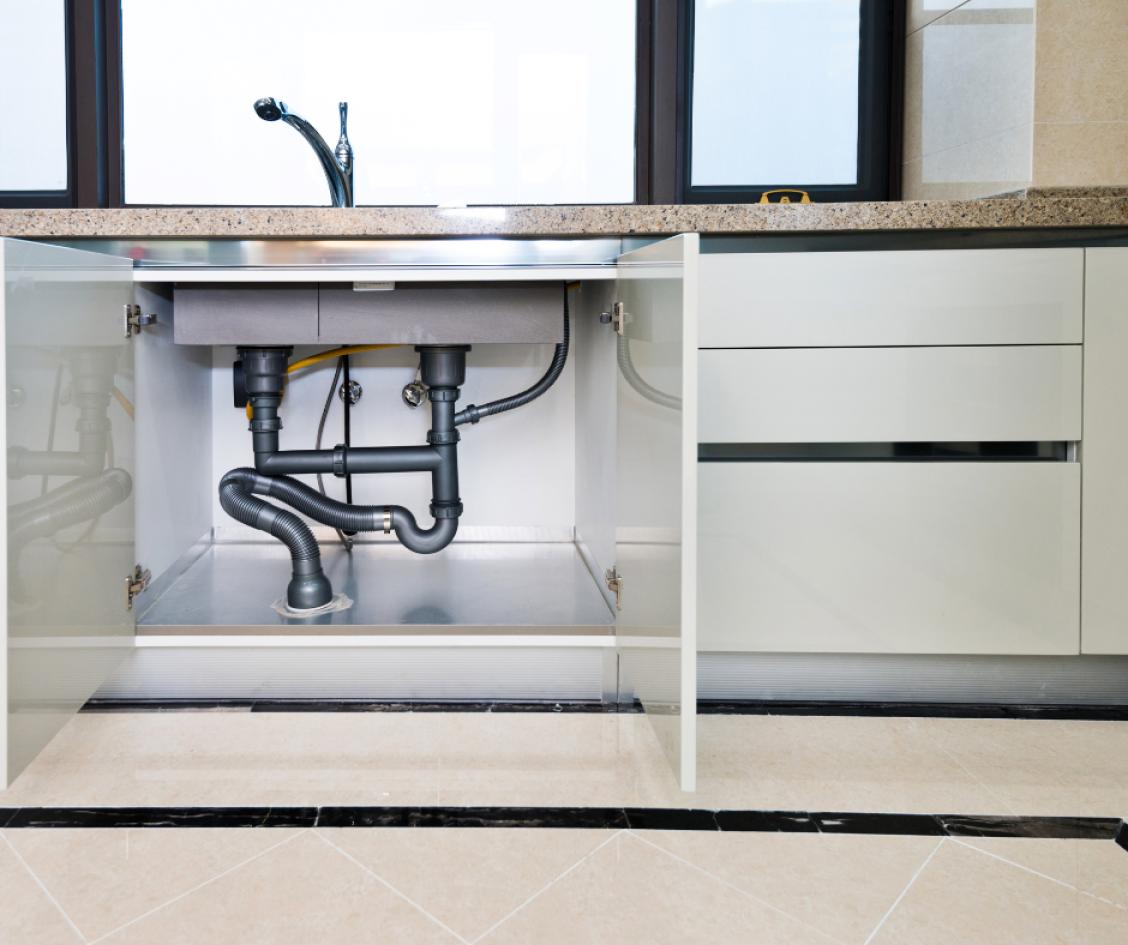
Not only will this step-by-step instruction help you install a kitchen sink drain, but it will also teach you a useful do-it-yourself skill. A properly placed sink drain guarantees a leak-free environment and improves the overall effectiveness of your kitchen. Learning the fundamentals of sink drain installation opens the door to a world of options for home repair, regardless of your experience level with do-it-yourself projects. Relish the satisfaction of a job well done and take pleasure in your kitchen's improved appearance.


