Mastering the Flow: A Step-by-Step Guide on How to Install a Kitchen Faucet
A practical and transformative DIY that can improve the look and feel of your kitchen is updating your faucet. This comprehensive tutorial on installing a kitchen faucet will enable you to accomplish a polished and expert outcome without the assistance of a plumber, regardless of whether you're installing a new faucet or repairing an outdated one.
1. Assemble Your Equipment and Supplies: The Basis for Achievement
Make sure you have the equipment and supplies you need on hand before beginning the installation process. A bucket, plumber's tape, an adjustable wrench, and a basin wrench are frequently used instruments. Everything you need, including the faucet itself, supply lines, and mounting hardware, should be included in your new kitchen faucet package.
2. Turn Off the Water Supply: An Essential Initial Action
First, shut off the kitchen sink's water supply. Find the shut-off valves under the sink, then turn them all the way clockwise to the closed position. You might have to turn off the main water supply to the house if your sink lacks a shut-off valve.
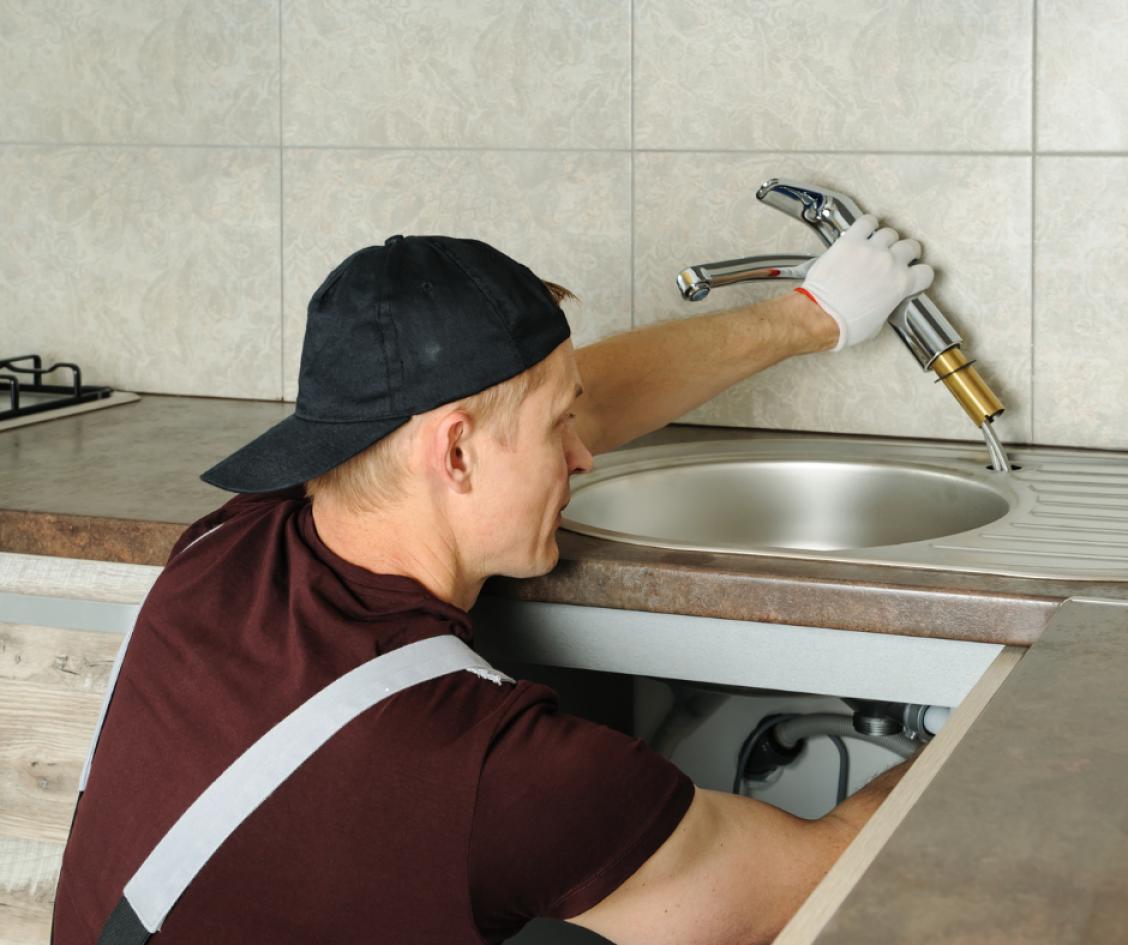
3. Unplug the Old Faucet to Make Way for the New
Disconnect the supply lines and release the nuts holding the old faucet in place to remove it. When disconnecting the supply lines, be ready for a small amount of water to leak out and use an adjustable wrench to remove the nuts. Underneath the sink, place a bucket or some towels to catch any spills and prevent mess.
4. Tidy Up: A New Beginning
After removing the old faucet, give the area surrounding the sink a thorough cleaning. For the installation of the new faucet, make sure the surface is clean and dry by removing any old caulk or plumber's putty.
5. Step-by-Step Guide: Installing the New Faucet
a. Install the Faucet: Make sure the new faucet fits correctly by inserting it through the sink's mounting holes.
b. Tighten the Faucet's Mounting Nuts: Tighten the faucet tailpiece mounting nuts using a basin wrench underneath the sink. Make sure the faucet is firmly in place.
c. Attach the Supply Lines: Attach the cold and hot water supply lines to the appropriate faucet valves. After first hand-tightening the connections, further secure them with an adjustable wrench.
d. Apply Plumber's Tape: To form a watertight seal, wrap plumber's tape around the threads of the supply line connections.
e. Fasten the Weight (If Applicable): A retractable hose and weight are included with certain faucets. As directed by the manufacturer, attach the weight to the hose.
6. Switch on the water supply and check for any leaks
Turn on the water supply gradually, beginning with the shut-off valves under the sink. Examine the connections for any leaks, and tighten them if required. To guarantee a constant flow of water and to flush away any air, turn on the faucet.
7. Verify Functionality: Guaranteeing a Smooth Experience
Turn the faucet on and off and check the hot and cold water to ensure it is working properly. Check to make sure the handle works smoothly and that there are no odd sounds or leaks while it's in use.
8. Seal the Area Around the Faucet: A Final Detail
To make a watertight seal, surround the base of the faucet with a bead of silicone caulk or plumber's putty. Remove any surplus putty or caulk to get a tidy and refined look.
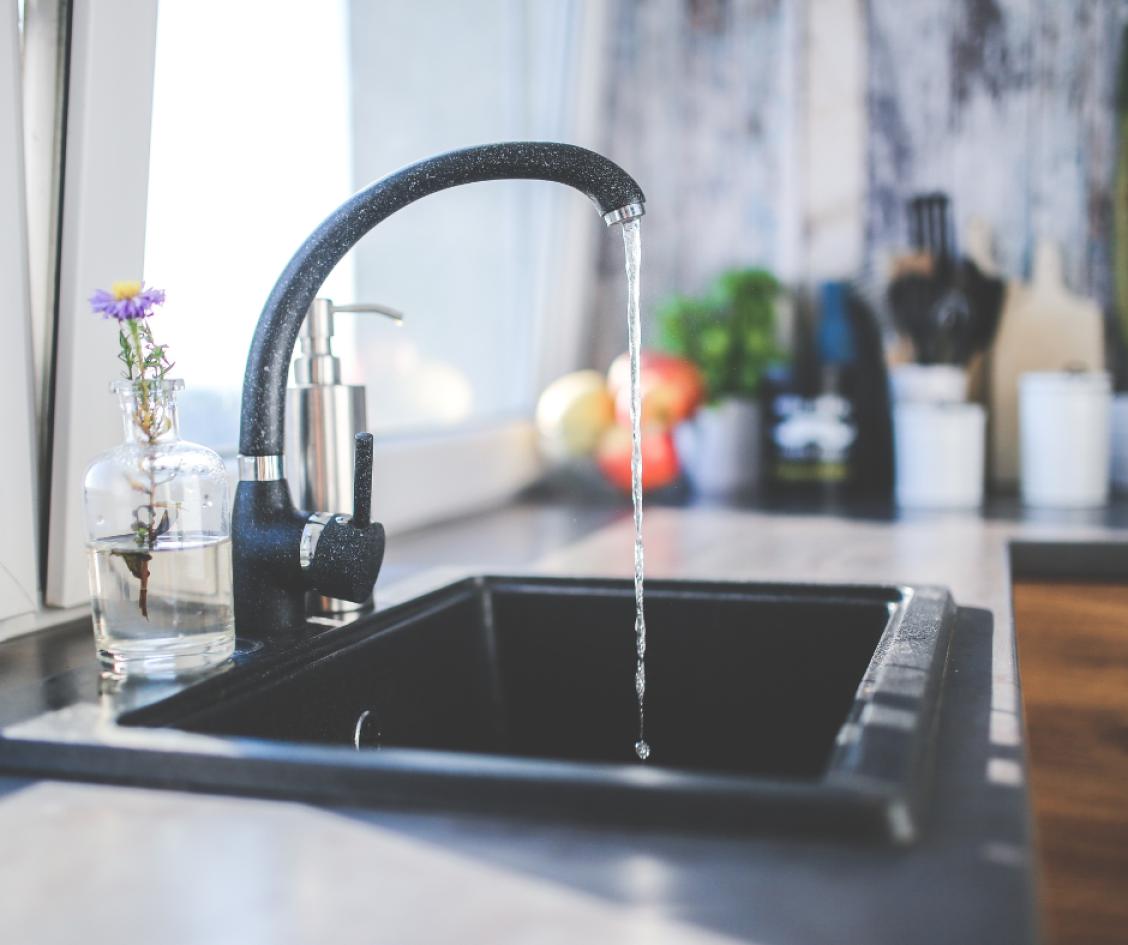
9. Relish Your Improved Kitchen: The End Product
Now that the installation is finished and everything is working as it should, pause to enjoy your newly updated kitchen faucet. Savor the improved functionality and aesthetics that this easy do-it-yourself project adds to your area.
Creating a Successful DIY Kitchen
A kitchen faucet installation is a satisfying and doable do-it-yourself project that may greatly improve the center of your house. You'll be able to save money on professional installation services and get the self-assurance needed to take on more do-it-yourself jobs by following our thorough instruction on installing a kitchen faucet. Transform your kitchen with a sleek and effective faucet replacement, and relish in the satisfaction of a job well done.


