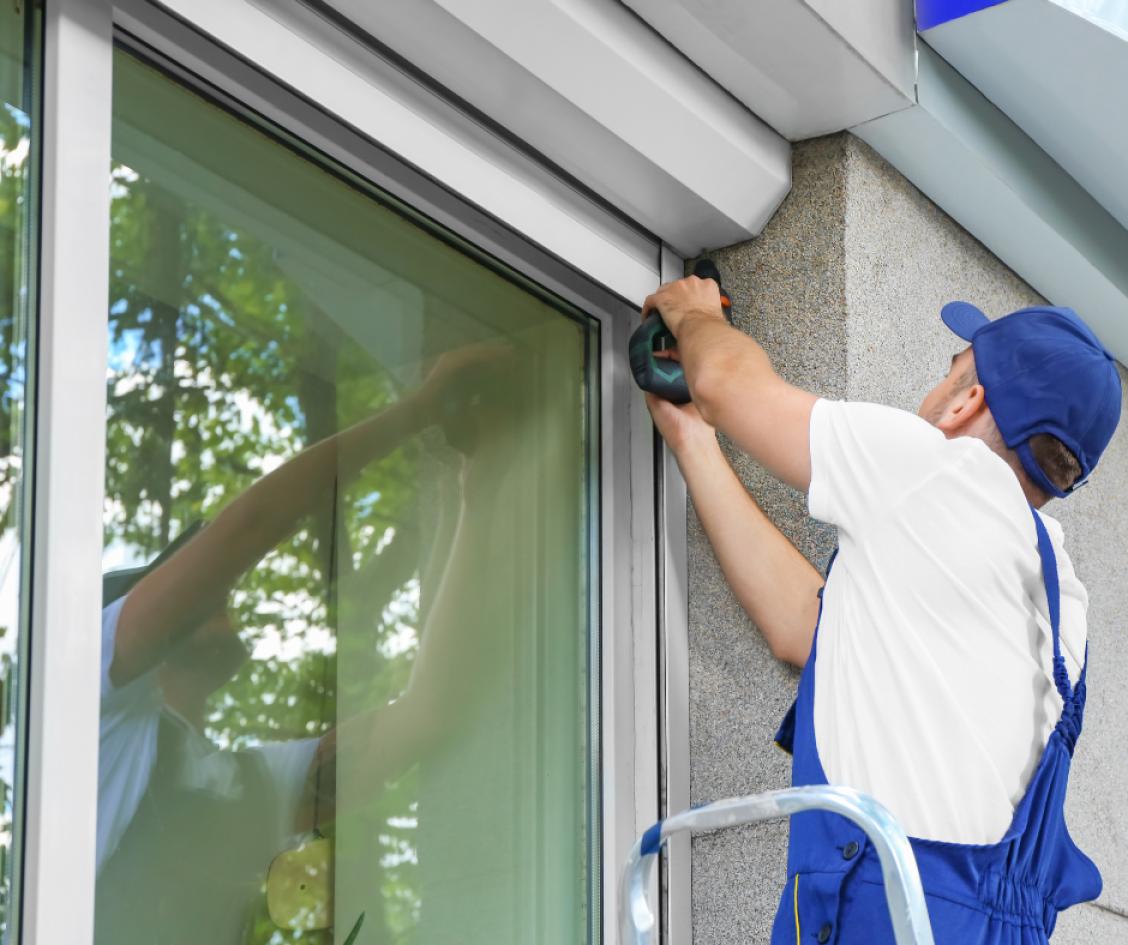
Window Screen Problems: How to Replace a Window Screen
Windows are our homes' primary openings to the outside world, letting in natural light and fresh air. But a broken or worn-out window screen might make this experience less enjoyable by allowing bugs inside or taking away from the overall design. You should not be alarmed if your window screen is broken or ineffective. You can easily replace a window screen with the help of this step-by-step tutorial.
Supplies You'll Need:
1. Fresh material for window screens
2. Screen spline (rubber band used to secure the screen)
3. Roller or screen spline tool
4. Scissors or a utility knife
5. A measuring tape
6. Screwdriver
7. A work surface or a level area
8. Miter boxes or frame corners (if constructing a new frame)
Step 1: Measure and Assess
Measure the size of the window screen you currently have. To obtain precise measurements, measure the length and width with a measuring tape. Examine the frame's state and decide if the screen has to be replaced in its whole or only the mesh.
Step 2: Gather the Necessary Supplies
To acquire the required supplies, stop by your neighborhood hardware store or home improvement center. Make sure you select the appropriate kind of window screen material, taking into account aspects like longevity and UV protection, particularly if your windows are subjected to direct sunlight.
Step 3: Take Out the Previous Screen
Carefully remove the old screen from the frame if you're changing the entire screen. To remove any screws or tabs keeping the screen in place, use a screwdriver. If the screen is fastened using spline, use a screwdriver or putty knife to carefully remove the spline out of the frame.
Step 4: Get the Frame Ready
Examine the frame for any wear or damage. Should the frame still be in good shape, give it a thorough cleaning with a brush or vacuum to get rid of all the dirt and debris. Before moving on, think about replacing or fixing any broken frames.
Step 5: Cut the New Screen Material
Make sure there is enough material to overlap the edges when you place the new window screen material over the frame. To allow for the spline, cut the material with scissors or a utility knife, allowing an extra inch on each side.
Step 6: Installing the New Screen
Make sure the cut screen material completely fills the opening by placing it over the frame. If the frame is made of wood, fasten the screen along one edge with a staple gun. For frames that have a spline groove, move on to the following step.
Step 7: Put the Spline in Place
To secure the screen in place, insert the spline into the frame's groove using a screen spline tool or roller. Make sure the screen is taut and free of creases as you proceed, starting from one corner and working your way around.
Step 8: Cut Any Extra Screen Material
After the screen is firmly in place, use a utility knife or scissors to snip off any extra material. To guarantee a tight fit, take care not to cut too near to the spline; instead, leave a tiny space.
Step 9: Put the Screen Back in
Use screws or tabs to rejoin the window screen frame if you took it off in its entirety. Make sure there are no gaps or drooping in the screen's fit inside the window frame.
Step 10: Experiment and Have Fun
Examine your newly installed window screen carefully. Press the screen gently to see how sturdy it is. You've changed your window screen effectively if it feels tight and secure! Enjoy the fresh air coming through your window without having to deal with pesky insects.
You can easily replace a window screen and improve the appearance and performance of your windows by following these easy steps. In addition to saving you money, this do-it-yourself project gives you the satisfaction of confidently taking on a home renovation project. A better view and a breath of fresh air can be yours after you bid your window screen troubles farewell!


