How to Replace a Sliding Window: A DIY Upgrade for Enhanced Functionality
Sliding windows are valued for their contemporary style and simplicity of use, but with time, deterioration may reduce their usefulness. Replacing a sliding window is a do-it-yourself project that can improve efficiency and look, regardless of whether you want to upgrade to a newer model or address performance issues. We'll walk you through every step of the procedure in this in-depth guide, giving you the tools you need to install an improved sliding window that operates smoothly.
1. Measure and Buy the Replacement Window
Accurately measuring the current opening is an essential first step in replacing a sliding window. To guarantee that the replacement window fits perfectly, accuracy is essential. Take into account any preferences you may have for the new window's design as you measure for both height and breadth. After taking measurements, buy a replacement window with the same measurements.
2. Gather the Required Tools
Get the tools required for a successful project before starting the replacement process. Your equipment must include a screwdriver, pry bar, caulk gun, and—above all—the replacement sliding window. A seamless and effective replacement procedure is ensured by having the right instruments on hand.
3. Take Out the Old Window
The old sliding window should be carefully taken out before starting the replacement procedure. Any bolts or screws holding the window in place should be loosened. To gently lift and remove the window sash from the frame, use a pry bar. To prevent harming the nearby materials, proceed with caution when doing this step.
4. Clean and Prepare the Opening
After removing the old window, give the opening a thorough cleaning. Clear away any possible dirt, old caulk, or glue. A clean, smooth surface is essential for the new sliding window to be installed correctly.
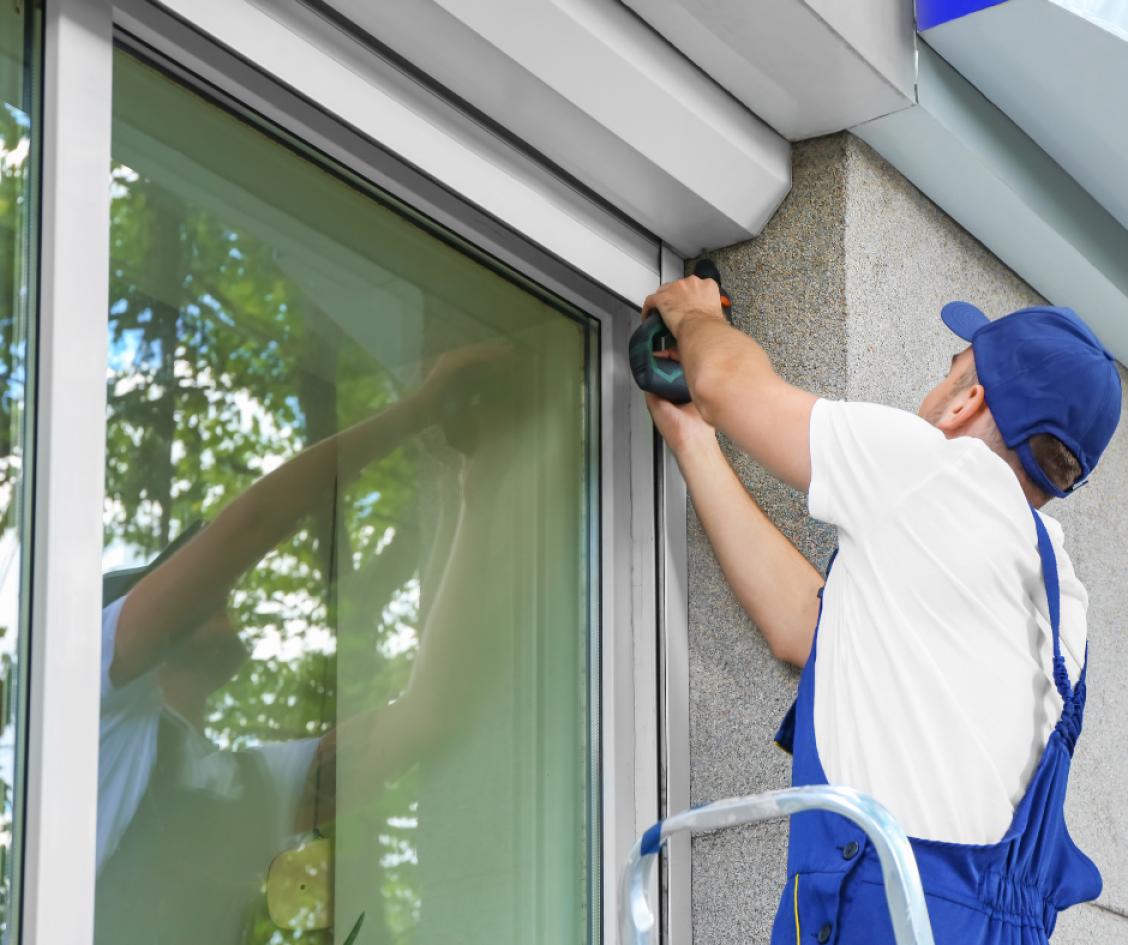
5. Install the New Sliding Window
Make sure the new window fits snugly into the cleaned aperture. To secure the window in place, according to the manufacturer's instructions, which usually call for screws or other fasteners. Make sure the window is level and firmly fastened inside the frame by taking your time.
6. Install Weather Stripping
Install weather stripping around the edges of your new sliding window to improve its weather resistance and energy efficiency. By sealing tightly, weather stripping helps to keep out drafts and preserve a cozy interior climate. Apply the stripping carefully, making sure to fill up any spaces for the best possible insulation.
7. Check Window Operation
Run the new sliding window a few times to make sure everything works easily and smoothly. Look for any resistance or problems that might require adjusting. At this point, extensive testing of the window guarantees that it functions as planned and offers the appropriate degree of convenience.
8. Seal and Caulk
To finish the replacement, put a thick layer of caulk over the window's exterior edges. This adds an additional layer of insulation and forms a waterproof seal. In order to keep your home comfortable and stop water intrusion, caulking is essential.


