Prepping Your Home for a Paint Job
Your property can be revitalized with a new coat of paint, which might improve the curb appeal or change the living areas. Nevertheless, careful planning is essential for any painting project to go smoothly and successfully, indoors or out. Painting that peels off, uneven finishes, and other problems that detract from the finished product might come from skipping or hurrying the preparatory work. Before you pick up your paintbrush, follow these crucial steps to make sure your painting project goes off without a hitch.
1. Evaluate the Surface Situation
It's important to evaluate the state of the surface you intend to paint before you start painting. Check for damage such as holes, cracks, peeling paint, or mold on your walls, ceilings, or external surfaces. These problems need to be fixed before painting because they may compromise the fresh paint's adherence and durability.
For the interior, use joint compound or spackling paste to seal any holes or cracks, and once they dry, sand them smooth. Sand the edges for a smooth finish after using a putty knife to remove flaking paint.
Inspect the exteriors for any signs of deteriorated siding, rusty metal, or decaying wood. As necessary, replace or fix these sections. Using a paint scraper or power washer, remove old, flaking paint, then use sandpaper to smooth the surface.
2. Tidy Up the Surfaces
For good paint adhesion, surfaces must be clean. Paint may not adhere to the surface due to the presence of dust, grime, grease, and other impurities, which can cause an uneven finish or flaking over time.
Interiors: Use a light detergent solution to wash the walls, particularly in the kitchen and bathroom where soap scum or grease may be present. Particular focus should be given to high-touch regions such as door frames and light controls. After cleaning, give the walls a last rinse with fresh water and allow them to dry fully.
For external surfaces, power wash the area to get rid of loose paint, mold, mildew, and grime. Use a bleach and water mixture to destroy the spores if mildew is present. Let the surface completely dry before proceeding to the next step.
3. Guard Areas That Aren't Paintable
Protecting places you don't wish to paint is vital because painting may be a dirty operation. This covers the windows, trim, flooring, furnishings, and hardware.
Interior design tip: Center furniture in the room, then cover it with plastic sheeting or drop cloths. To mask off trim, baseboards, door frames, and windows, use painter's tape. To protect the floors, place drop cloths down. Also, take off or hide any hardware, such as hinges, doorknobs, and light switch plates.
For the outside: Use tarps or drop cloths to protect outdoor furniture, shrubs, and plants. For window, door, and light fixture protection, use painter's tape and plastic sheeting. Cover any decks or patios you plan to paint in order to avoid paint splatters.
4. Prepare the Surfaces
Many do-it-yourself painters skip priming, but it's an important step that may really affect the outcome. By sealing the surface, primer creates a consistent surface on which paint can stick. It also makes the paint work more resilient and long-lasting.
For interiors: Prime any patched areas, drywall, and exposed wood. Consider priming the entire surface if you're changing the color of something drastically, such from dark to light, to ensure consistent coverage and stop the previous color from showing through.
For the outside: Apply an exterior primer to any exposed metal, masonry, or wood surfaces. For external surfaces in particular, primer is crucial because it helps stop moisture infiltration, which can lead to paint blistering and peeling.
5. Select the Appropriate Paint and Tools
Choosing the appropriate paint and tools is essential to getting a polished finish. When selecting paint, take into account the kind of surface you're painting, the surrounding conditions, and the desired finish.
For interiors: Use premium paint with a finish appropriate for the space. For instance, because satin or semi-gloss finishes are moisture-resistant and easy to clean, they are perfect for bathrooms and kitchens. Select rollers and brushes based on the texture of the surface; for flat walls, use a roller with a short nap, and for textured surfaces, use one with a thicker nap.
For the outside: Choose weather-resistant exterior paint that can tolerate elements including rain, UV rays, and temperature changes. The flexibility and resistance to breaking of acrylic latex paint make it a popular choice. To save time and have a flawless finish, use high-quality exterior-use brushes and rollers and think about utilizing a paint sprayer on larger sections.
6. Make a painting strategy plan.
Spend some time organizing your painting strategy before you get started. This entails choosing the sequence in which to paint certain sections and making sure you have all the necessary materials.
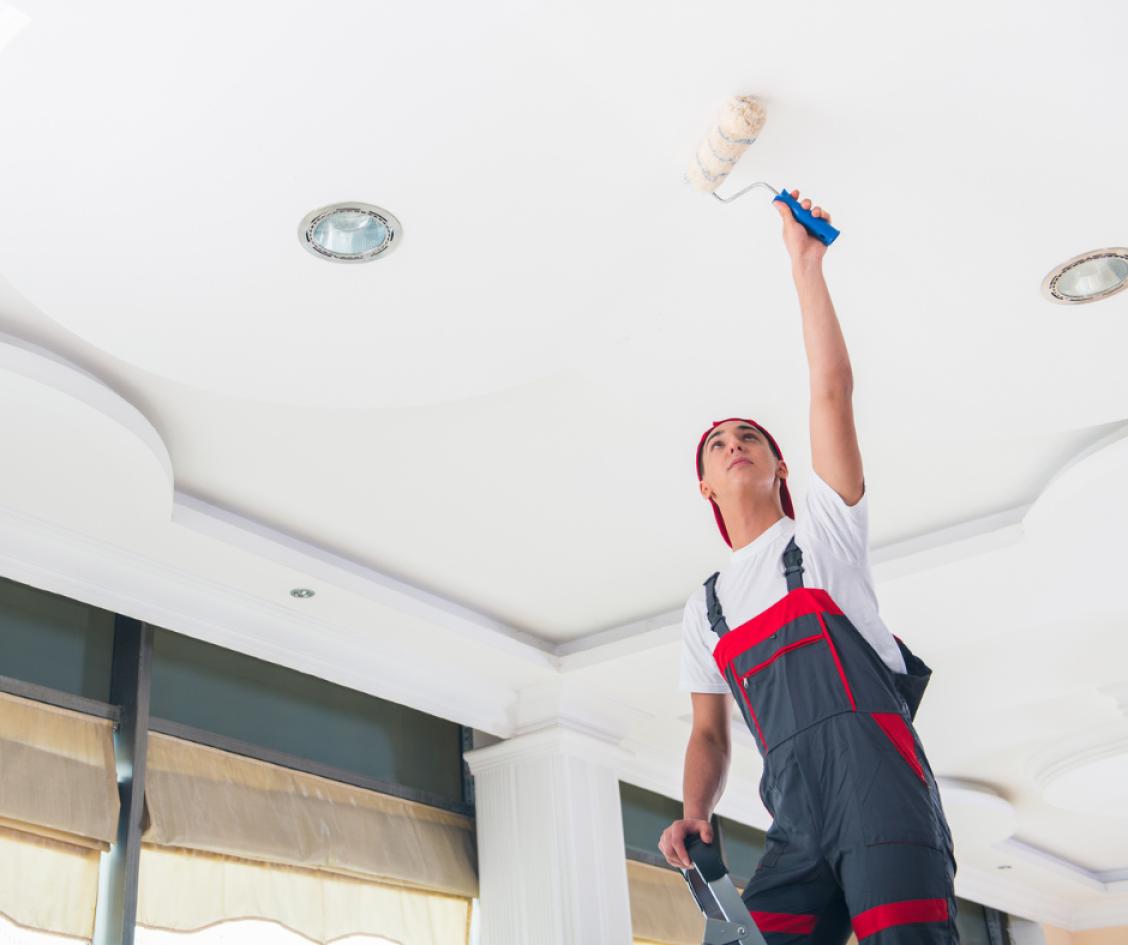
Painting interiors should start with the ceiling, go on to the walls, and then finish with the trim. This will make it simple to clean up any spills or drips as you work your way down the wall. To guarantee even covering, work in small parts and move the roller in a "W" or "M" pattern.
When painting the exterior of a house, begin at the top and work your way down to prevent drips on recently painted surfaces. When painting, try to do so in the shade because direct sunlight can speed up the drying process and result in lap marks.
7. Take the weather into account
The success of any outdoor painting endeavor is greatly influenced by the weather. Mild temperatures, moderate humidity, and no rain in the forecast are ideal conditions.
- Steer clear of painting in extremely hot or cold temperatures since paint dries too rapidly and peels or blisters easily. Paint may not adhere well and may take longer to dry in cold conditions. For optimal effects, aim for a temperature range of 50°F to 85°F.
- Keep an eye on the humidity: high levels can cause paint to bubble and slow down the drying process. For your painting project, pick a dry, temperate day by consulting the weather forecast.
An effective painting project starts with careful planning. It is possible to get a professional-quality finish that will improve the appearance and longevity of your home by taking the time to evaluate and clean the surfaces, protect parts that cannot be painted, apply priming, select the appropriate paint and tools, and plan your painting strategy. Painting a room inside your house or updating the outside of your house can be easy and enjoyable if you follow these guidelines.


